
Everyone's busy, as am I. I finally have my culturing apparatus up and running.


Supplies(First 4 I picked up at my local Petco (where the algae hobbiest go :-P)
Simple single line air pump
Some air line tubing
Air stones
One way air valves
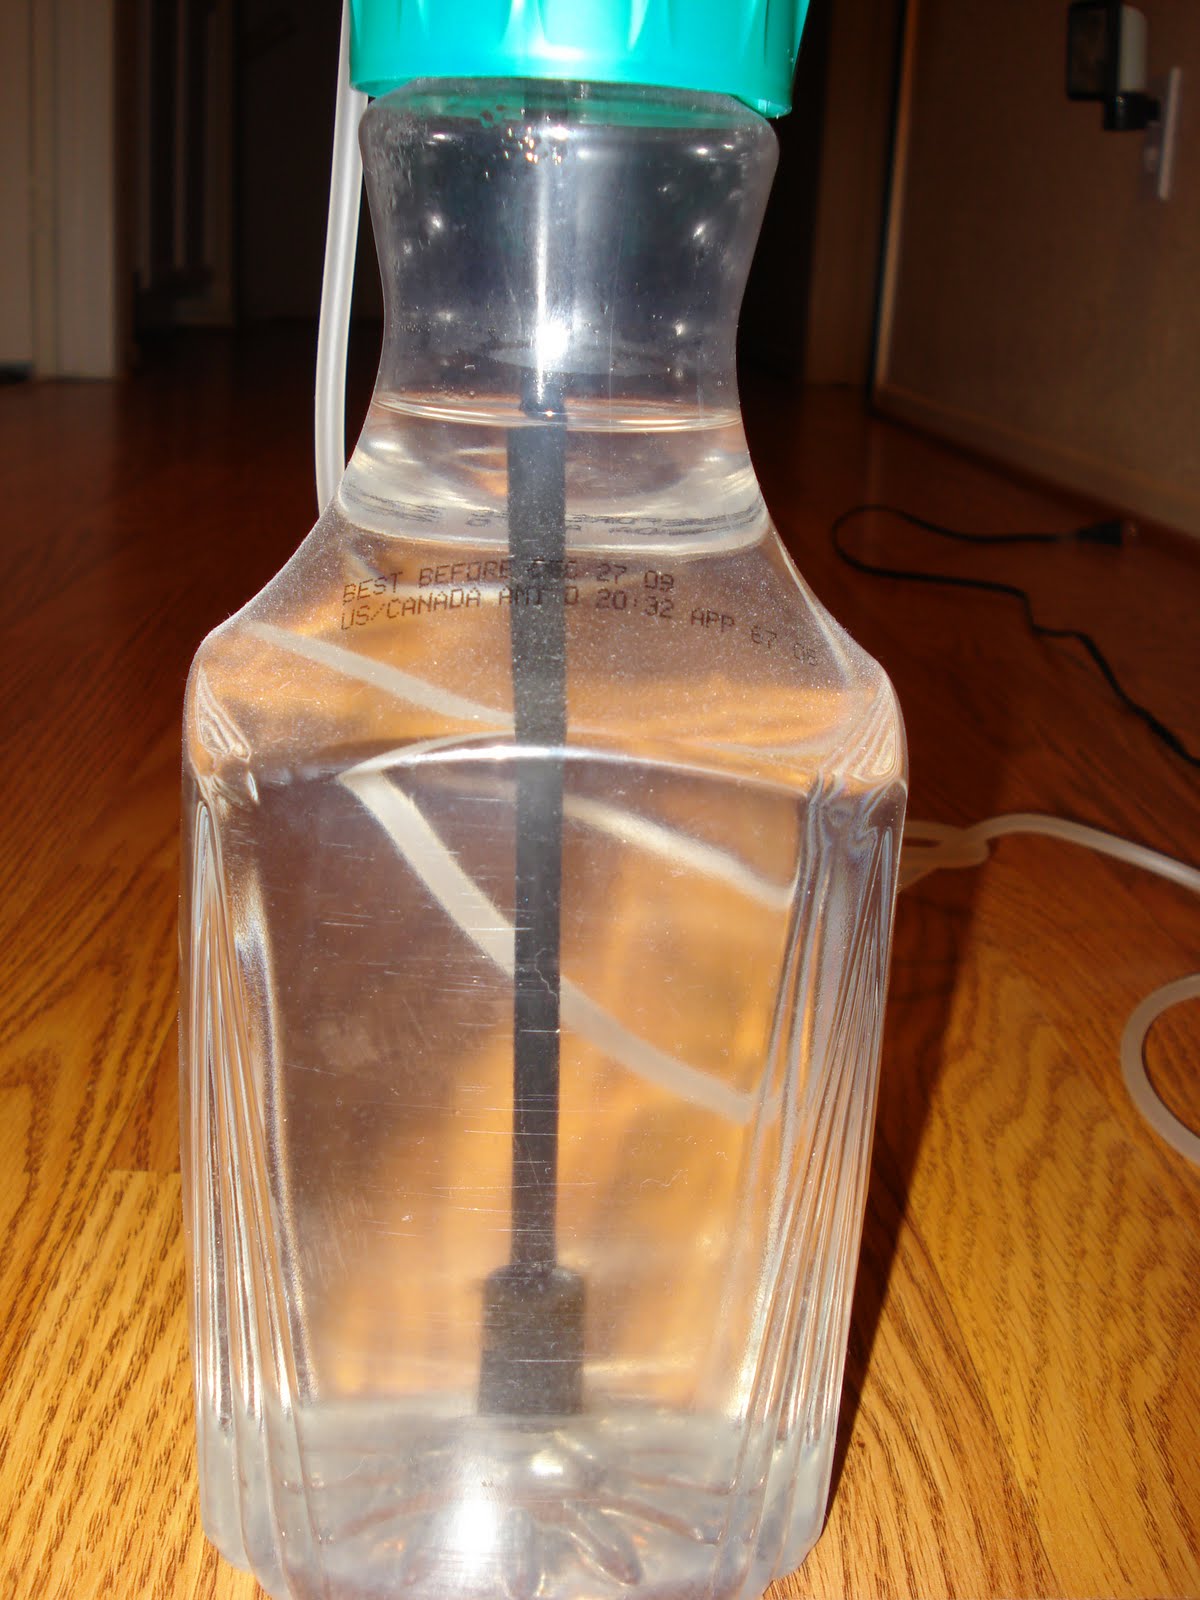
A Simply Orange bottle.
Irrigation tubing connector set (Picked up from Lowes)
UV-resistant Irrigation tubing
Aquarium Silicone
Steps:
1) Remove the labels off of the Simple Orange bottle. You can use any type of bottle however I liked that these bottles had a very wide mouth and therefore top. They are also made out of polyethylene terephthalate and so do not grow algae in these if you plan on eating or drinking it, especially if you use these bottles outside as they may leach chemicals that can disrupt your endocrine system.
2) Drill two holes into the top of the bottle top making sure they are far enough apart that they don't become one giant hole. (Went through a few bottles to get it right). Make sure these holes are large enough for the irrigation straight connectors to fit into but not larger than that.
3)Silicone into place one irrigation straight connector into each hole facing away from each other. Make sure that about half of the connector is outside of the bottle and the other half is inside.
4)Cut an 8-10" long piece of irrigation tubing and attach it to the inside of one of the straight connectors now hopefully in place on the bottle-top.
5)Place an air stone of the other end of the long piece you just cut.
6)Cut 2 pieces of 1" irrigation tubing and attach them to either side of an L-connector. (I chose the UV-resistant tubing and I already knew it would fit the connectors and it was more firm than the normal airline tubing.
7)Attach this L-connector to the outside of the OTHER straight connect.
8)Attach a one way air valve to the other end of the L-connecter that you just connected.
There should now be two unused ends between the two straight connectors
9)Place your airline tubing from a check valve and then to your air pump.
10) Attach the business end of the airline tubing into the top of the straight connector you have attached to the airstone.
Congratulations you are done!
This setup allows you to sterilize the bottle and close the cap allowing air to flow in from the air pump and out through the one way air valve. A air-line microbial filter can be added into the equation to make sure the air going into the setup is sterile however this can add up $ and so not always the best thing unless you absolutely need it. You can find them at http://www.argos-tech.com/c-4-p-53-id-4.html for example.
This bottle setup can be placed in series as well adding one bottle onto the output of the bottle before it. This allows you to use a single tube air pump with multiple samples. If these samples are going to be of different strains or of different experiments, make sure that you place a bottle of NaOH between them in the series to kill of any air hitchhikers. And there you have it a completed culture vessel for your at home culturing needs. A little more complicated than some others however It will last you a long time. The pictures below are of my bottle before I added my newest strain of C. vulgaris I just got in the mail from Carolina.
I'm still getting the hang of blog spot so I'm just putting all of the pictures at the end.
Completed Setup


Irrigation tube attached to airstone

You can also find bacterial membrane filters at http://www.millipore.com/catalogue/module/c9085
ReplyDelete